By Kelvin Chan
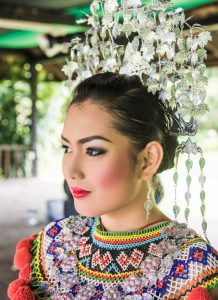 “Please touch-up my eyes bags”. How many times have we faced these questions whenever we take portraits for people, regardless whether it’s a guy or a girl. Whether I am shooting professional models or just friends the questions are still pretty much the same. And I am sure you too have faced this during your shoot. Luckily we now have some powerful processing and editing softwares to save our days and nights after spending backbreaking hours of shooting.
In commercial shoots every image would have to go through the digital imaging processes in Photoshop from minor color corrections to multiple composite and layering. But this can be time consuming and complicated. The other alternative is in Lightroom, which has some very useful built-in presets to help you in getting the perfect portrait. In a few quick steps you can now achieve that glamorous magazine look.
While it is easy to edit with these presets it’s also very easy to go overboard with editing. Sometimes the least editing work is better than an overly edited picture, which will look rather unnatural.
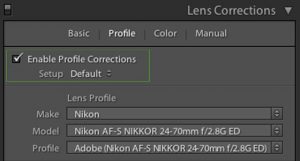
- Open up a Lightroom catalogue and select the picture you want to develop. On the right of the dialogue window, click on Lens Corrections; tick the boxes for Enable Profile Correction and Remove Chromatic Aberration.
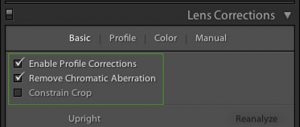 Choose Enable Profile Corrections in the drop down menu and make sure Lightroom detect the correct lens.
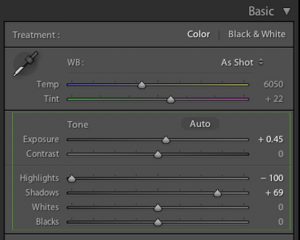
- Adjust the Basic features to correct your exposure and change WB by moving Temp slider. To restore detail to brighter area push Highlights slider to ‘ –‘and to bring out detail in the dark area move Shadows slider to ‘+’. Pushing the Whites and Blacks sliders to further achieve a more balance tone.
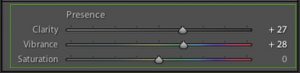
- Improve the Clarity by increasing the slider to ‘+’ to add details and to boost colors by pushing Vibrance to ‘+’.
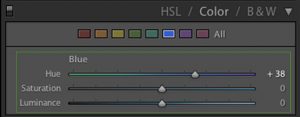
- Adjust Color under Adjustment Tab – HSL/Color/B&W. By adjusting color HSL it can change skin tone color or the background color.
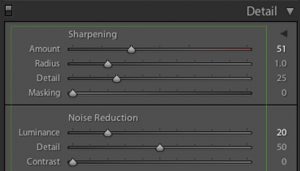
- Add Sharpening under Detail Tab and increase Luminance for Noise Reduction.
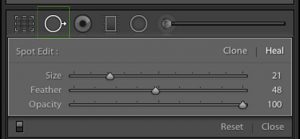
- Remove blemishes or sensor dust spots with the Spot Removal Tool. It can clone or heal unwanted blemishes on the skin. Selected the size of the brush closes to the blemishes you want to heal.
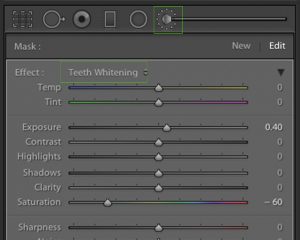
- Use Teeth Whitening preset to give the sparkling teeth finishes to your teeth. Choose the right size brush and ‘Feather’ to brush over the teeth.
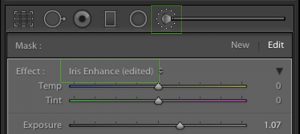
- Brings out the eyes by choosing Iris Enhance. Zoom into the eye and adjust the correct size of the brush and brush over the iris and white of the eye. Move any of the slider to lighten or add more color as you wish.
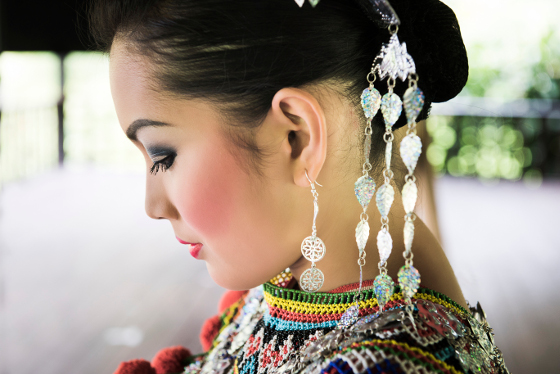
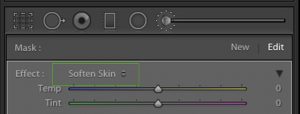
- Soften Skin is the most useful preset for portrait, as most people don’t have perfect skin texture. Adjust the size of your brush and brush over the skin but avoid the eyes and mouth. And adjust the texture by moving any of the slider to achieve the smooth skin effect.
This interview was published in Advanced Images Issue 76.