By Kelvin Chan
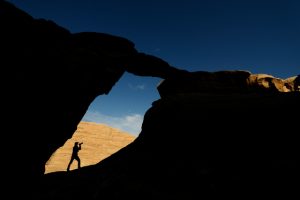
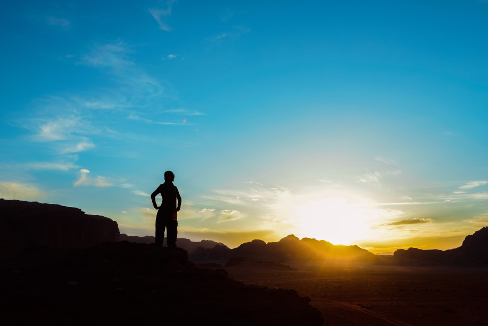
In the beginning we were always told to shoot with the sun behind us so that your subject will be clearly lighted up. As we move along and begin to understand light directions and to be able to control our camera better you’ll find that shooting with the sun in other positions can give you even more dramatic results. Shooting into the sun can be tricky to meter and it’s not advisable to look straight into the strong sunlight otherwise it may damage your eyesight. But shooting against a strongly lighted background can create some dramatic shadow, silhouettes and flare.
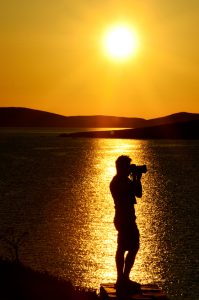
To ensure you capture the colours correctly, switch to spot metering mode. Meter from the sky, point AF at the bright part of the sky or any part of the brighter background and take a meter-reading. If you’re using Aperture Priority mode, do remember to hold down the AE-L button, reframe and focus on your subject then take your shot. If you are using manual mode, take a meter reading, reframe, lock focus to your subject and shoot. In the beginning it’s advisable to bracket your pictures by taking them under and over the normal exposure. If it’s under expose try to meter slightly away from the very bright area. Check and review your picture from your camera LCD. When in doubt, slightly under expose your picture and shoot in RAW.
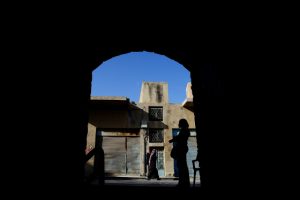
In order for the silhouette to work make sure you have a distinctive shape or shadow against a contrasting background, like a clear blue sky or the brilliant colours of sunset. A clear definition of the subject is necessary for the picture to work.
This article was published in Advanced Images Issue 74.